
Making Macarons Pt II
- dasmakescakes
- Jun 27, 2023
- 4 min read
Updated: Jul 9, 2025
It's strange to think that my macaron making journey started almost a year ago as I plundered my way through various recipes and tutorials trying to make those evasive little delicacies. You'll know from my first post Making Macarons that it took me several tries before I landed on the right amount of information and experience to perfect the macaron and I urge you to have a read of that too as it contains lots of useful tips that I picked up along the way.
But here is part II because while the Italian method, used in the aforementioned post, is wonderful, sometimes we just want something a little quicker and simpler and with less equipment to worry about. I discovered Zoë François a few months back on Instagram and her wonderfully comprehensive guide to both meringue and french macarons both of which completely changed my baking life! Understanding the different stages of meringue and its relationship to your macaron process is one of the biggest lessons I took from Zoe and second to that is her technique for macronage, the process of folding your macaron batter. I urge you to watch and rewatch her tutorials for both to familiarise yourself with the art of meringue and macronage, both are saved in her Insta highlights.
As to the recipe, here it is. I tend to bake in chronological order so I'll share the ingredients and their methods just so...
125g almond meal/flour 225g icing/powdered sugar
Combine and pulse in a food processer about 3-5 times. You want to be careful not to pulse the almond meal too many times so as not to release the oils from the nut. Set to one side.
Measure out 130g large egg whites (I pop the bowl of my stand mixer on the digital scale and measure my egg whites directly into it to save on excess washing up). Add 1/4 tsp cream of tartar (this is optional but I find it helps the meringue stabilise and whip up far more easily).
Whisk your egg whites until foamy (obviously using a whisk attachment) and then sprinkle over 110g caster sugar.
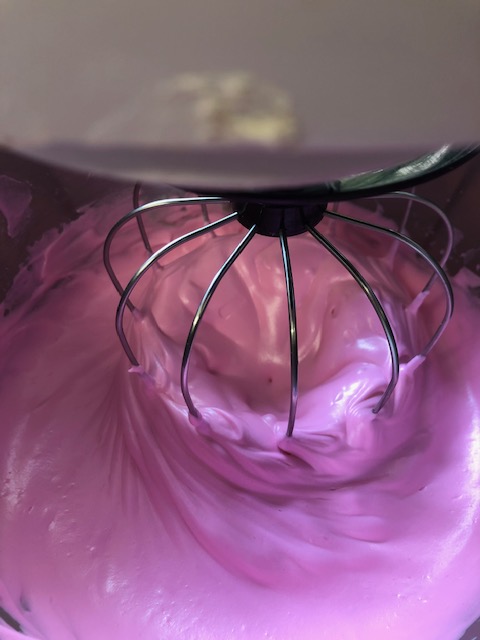
Turn up the speed and beat to soft peaks. At this stage, if you are only planning on using one colour for your macarons you can add it now along with any flavourings you choose. I'll talk about splitting your batter later on.
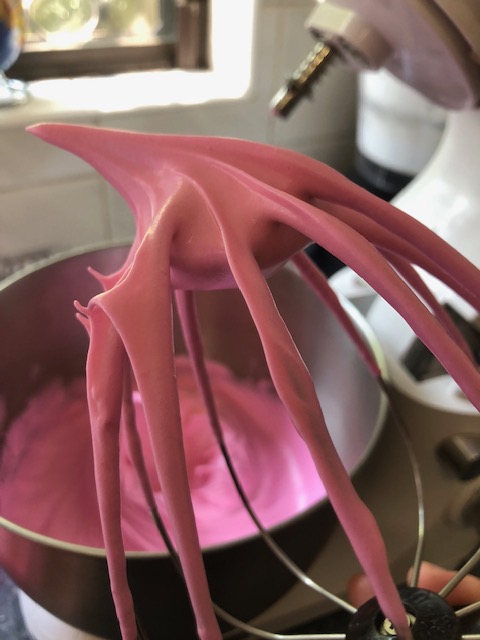
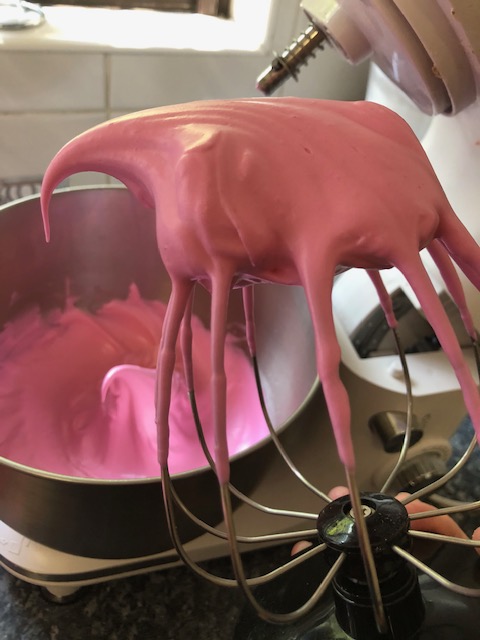
Continue whisking until your meringue is at stiff peaks. Here you want to be super careful because over-beating your meringue could create hollow macaron shells. So keep checking your meringue. It is ready when the peak is slightly leaning to the side and the tip curls over a little.
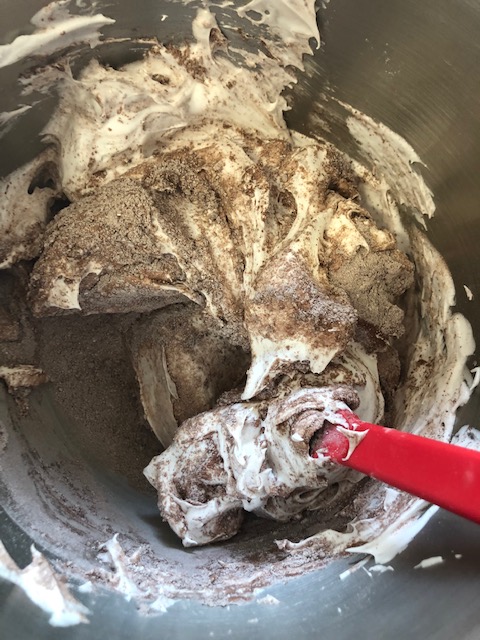
Once your meringue is ready, grab your spatula and fold your almond mixture into the meringue in three additions, mixing to combine after each addition. Now, it is at this point once the meringue and almond mixture are combined to form a thick batter that if you wanted to use more than one colour you would split the batter. This just involves putting some of your macaron batter into a second bowl and then adding your colours to each bowl and ensuring you don't take too long to macronage each one.
For the macronage, you essentially want to get rid of most of those air bubbles you built up in whipping up your meringue. Take your spatula and press the batter up against the sides of the bowl. At first it will stick to the bowl and then you'll see it start to slouch down the sides of the bowl, when this starts to happen scoop up some of the batter on your spatula and see if it ribbons off into the bowl or if you can draw a figure of 8 in one seamless motion with the batter. At this point it's ready for piping. It should be relatively thick still but smooth. (I've added Zoe's YouTube tutorial below as an added guide.)
https://youtu.be/QxlawAHvwtU
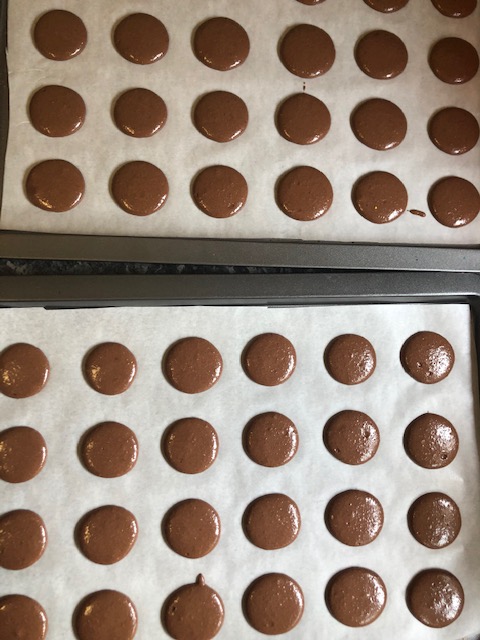
Make sure to have your baking trays prepped with baking paper and templates underneath if you're using them, and have your piping bag ready fitted with a round tip nozzle. Just twist the bottom of the piping bag above the nozzle so your batter doesn't come running out (though if it is that runny it's not the right consistency). Then simply decant your macaron batter into the bag and you're ready to pipe your rounds.
Remove the templates and bang your trays against the surface a few times to pop any air bubbles. If you still see some, take a toothpick and manually pop the rest. If they burst in the oven your shells will crack.
Preheat your oven to 165˚C (I always use an oven thermometer for accuracy placed on an empty oven tray which I leave on the top level of the oven throughout). Then you want to rest your shells for around 30 minutes or until the batter is no longer tacky. You can test it by gently running your finger over the top of one and see if the batter is smooth and doesn't come off on your skin. It should look opaque once it's at the ready to bake stage.
Bake each tray individually for approx. 11 minutes. Set a timer! If your shells move a little when you touch them then just leave them on the tray for a minute or two once they're out of the oven before sliding them off to cool.
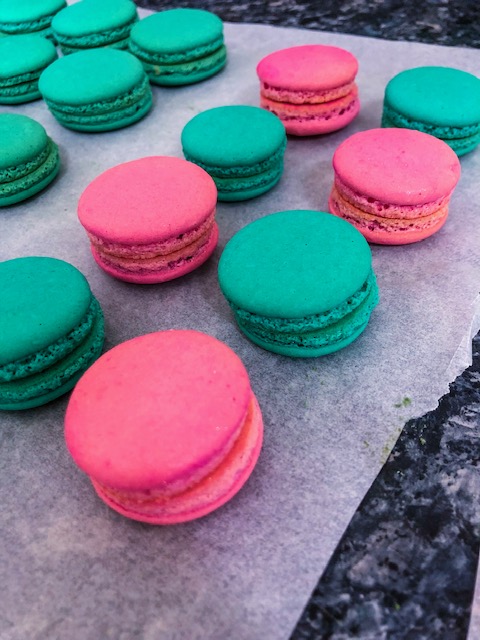
That's it. Let them cool completely and peel the shells off the baking paper. Match up each shell with one the same shape and size. Fill with your choice of buttercream, ganache or other yummy filling.


Comments