
Salted Caramel
- dasmakescakes
- Apr 11, 2019
- 3 min read
Updated: Jul 9, 2025
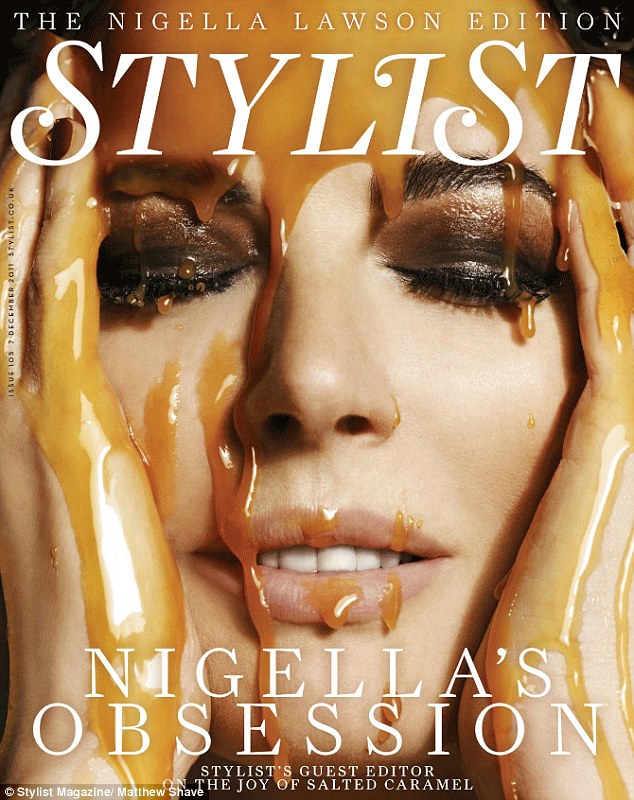
Ever since Nigella Lawson appeared on the front cover of Stylist magazine dripping in salted caramel, which she basically put on the map of our social consciousness; I have been obsessed with the stuff. Though I'd never dared to actually make it myself!
Note: Take care when making caramel as the sugar gets very hot and will burn you if it makes contact with your skin.
I was pretty nervous at the prospect of making caramel for the first time. So much could go wrong! Not least the mixture jumping out of the pan and burning me. The first step in making caramel is to ensure you have every single thing you'll need close at hand, both for the sake of the caramel and equally for your safety.
I had my heatproof spatula - recognisable by its dark red handle (I got mine from Nisbets for under $11 - my heavy bottomed saucepan, and every ingredient and utensil in close proximity because when making caramel one must work quickly.
I also popped my pink pastry brush nearby as while your sugar is melting (aka caramelising) you don't want to stir it at all so as to prevent the sugar from crystallising. The pastry brush can be used to draw the sugar down from the sides of the saucepan without disturbing the mixture too much.
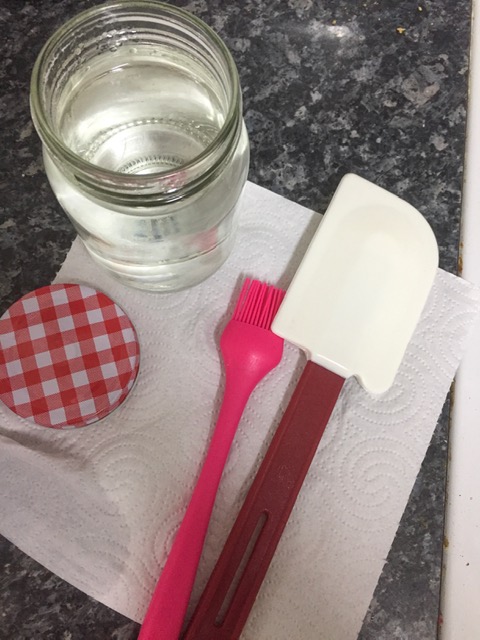
I washed up my newly bought jam jar and then filled it with boiling water in order to make it sterile ahead of its caramel contents. With trepidation I poured half the sugar into the pan which was already sitting on the heat (med-high).
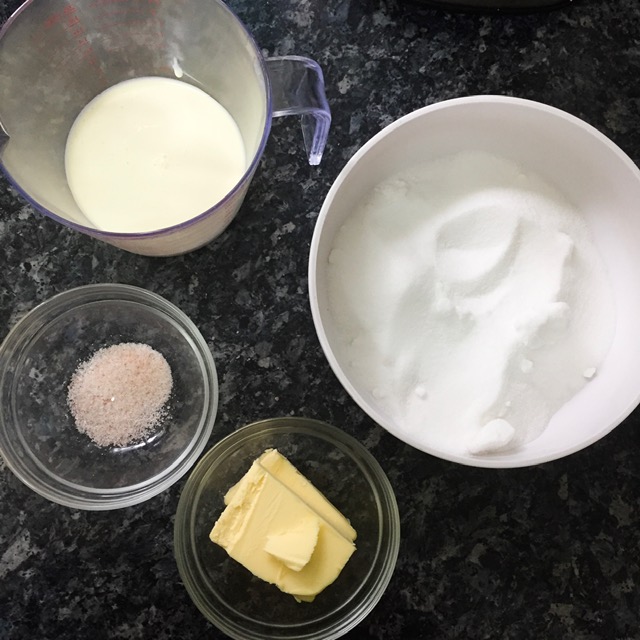
The recipe calls for 200g caster sugar, 90g unsalted butter, 120ml double (or thickened) cream and between 1-2 tsp of salt. I used Himalayan rock salt.
I watched and I waited for the sugar to start doing its thing. I'm not going to lie, part of me was convinced I was going to end up with a burnt pan but much to my delight, the sugar began to liquify and then change colours, going from a clear syrup to a warm amber.

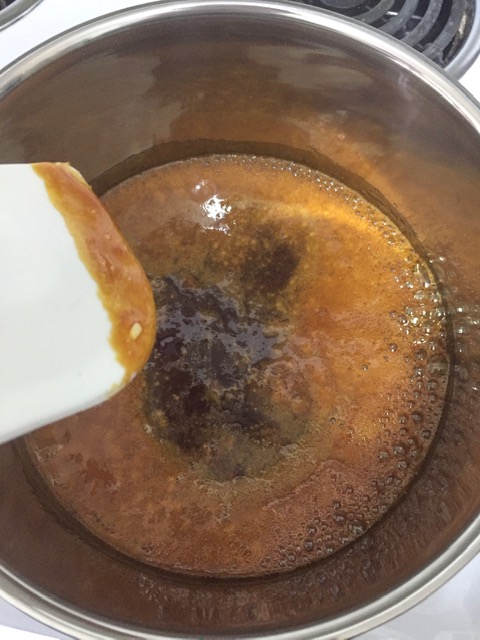
As the sugar is caramelising you can give the pan a gentle shake to help the sugar all come together in its molten state. Once it was mostly melted I gently helped the sugar in the centre of the pan to combine with the rest using my spatula.
With my wonderful dark amber mixture realised and all sugar incorporated I threw in my salt and gave it a gentle stir. Then it was time for the butter, which I added in one go and mixed through quickly. Expect the mixture to hiss and sizzle at this point and bubble up somewhat too. Once all the butter is incorporated it's time to add in the cream.
Do this very gradually as you don't want the caramel to seize. I had my cream in a measuring jug so that I could easily pour it in dribble by dribble while stirring it through. Leave it now for 20 seconds to just boil through and then take it off the heat.
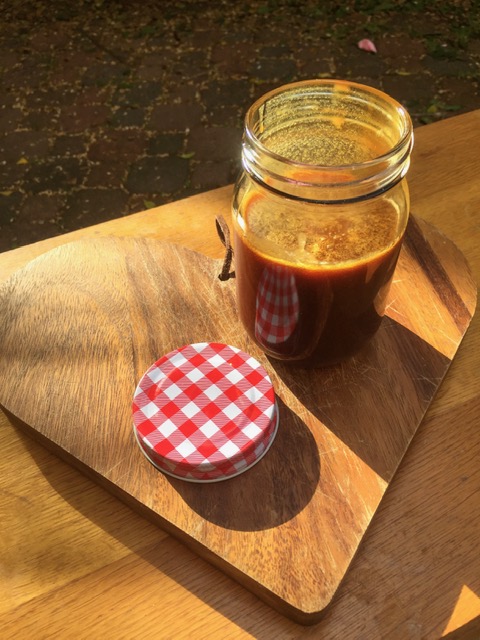
Et voila! Proof that sugar is the caterpillar of the baking world, morphing from the white stuff you put in your Dad's cuppa into thick, gooey caramel worthy of a magazine cover shoot!
Now's the time to pour the water out of your jam jar and give it a dry. Then decant your caramel sauce into the jar and leave to completely cool. Leave the lid off. If you put it on while the caramel is hot it will create a suction seal meaning you probably won't be able to pry it off when the time comes to use it.
I'm so excited to use my caramel in further recipes. Some of it made it's way into a brownie mixture I prepared this afternoon and I plan to use it as a drip for a future cake and potentially to fill some macarons!! The possibilities are endless.
Your caramel sauce can be stored in the fridge for two weeks. Some sources say 1 month but trust your own instincts. When you want to use it for any or more of the above purposes, you'll want to heat it so that it regains its fluidity. You can of course heat it in the microwave (if you have one) or place it in a pan and gently heat it the old fashioned way.
Follow us on Instagram @dasmakescakes


Comments